A Whole Chicken for Your Nest Egg: Bone Broth

Crockpot Bone Broth

We typically think of cooking an animal only for its meat, but we’re missing some of the best part!  French culinary masters consider stock/bone-broth to be a kitchen essential in flavoring soups, rice, sauce, gravy, and much more. Our ancestors survived on hearty broth made from bones, especially during the winter when fresh food was hard to come by – our bodies have gotten used to the nutrients that animal bones provide and depend on them to grow, repair and function.  This is just one of the many reasons I’m not a vegan.

Animal bones (and the marrow) contain a protein molecule called glucosamine.  Glucosamine, the main ingredient in arthritis meds and joint supplements, helps build and repair joints and also triggers the growth of new collagen. Collagen provides structural support for our bones, tendons and ligaments, and gives our skin shape, texture and youthfulness. While collagen injections may make the Real Housewives’ lips temporarily plump, consistent regeneration of the collagen in your skin, hair, bones, arteries and more can only come from making it part of your diet. I don’t know about you, but as I age, I want to look and feel young… here’s to a retirement full of active travel and less wrinkles! The good news is that natural collagen and glucosamine are an easy and tasty addition to your diet, and will not only help prevent issues, but also rebuild and repair. By simply simmering the nutrients out of the bones, joints and cartilage slowly, you are able to safely extract the minerals and vitamins (magnesium, vitamin D & calcium), as opposed to the high-heat damaging methods used in making glucosamine pills.

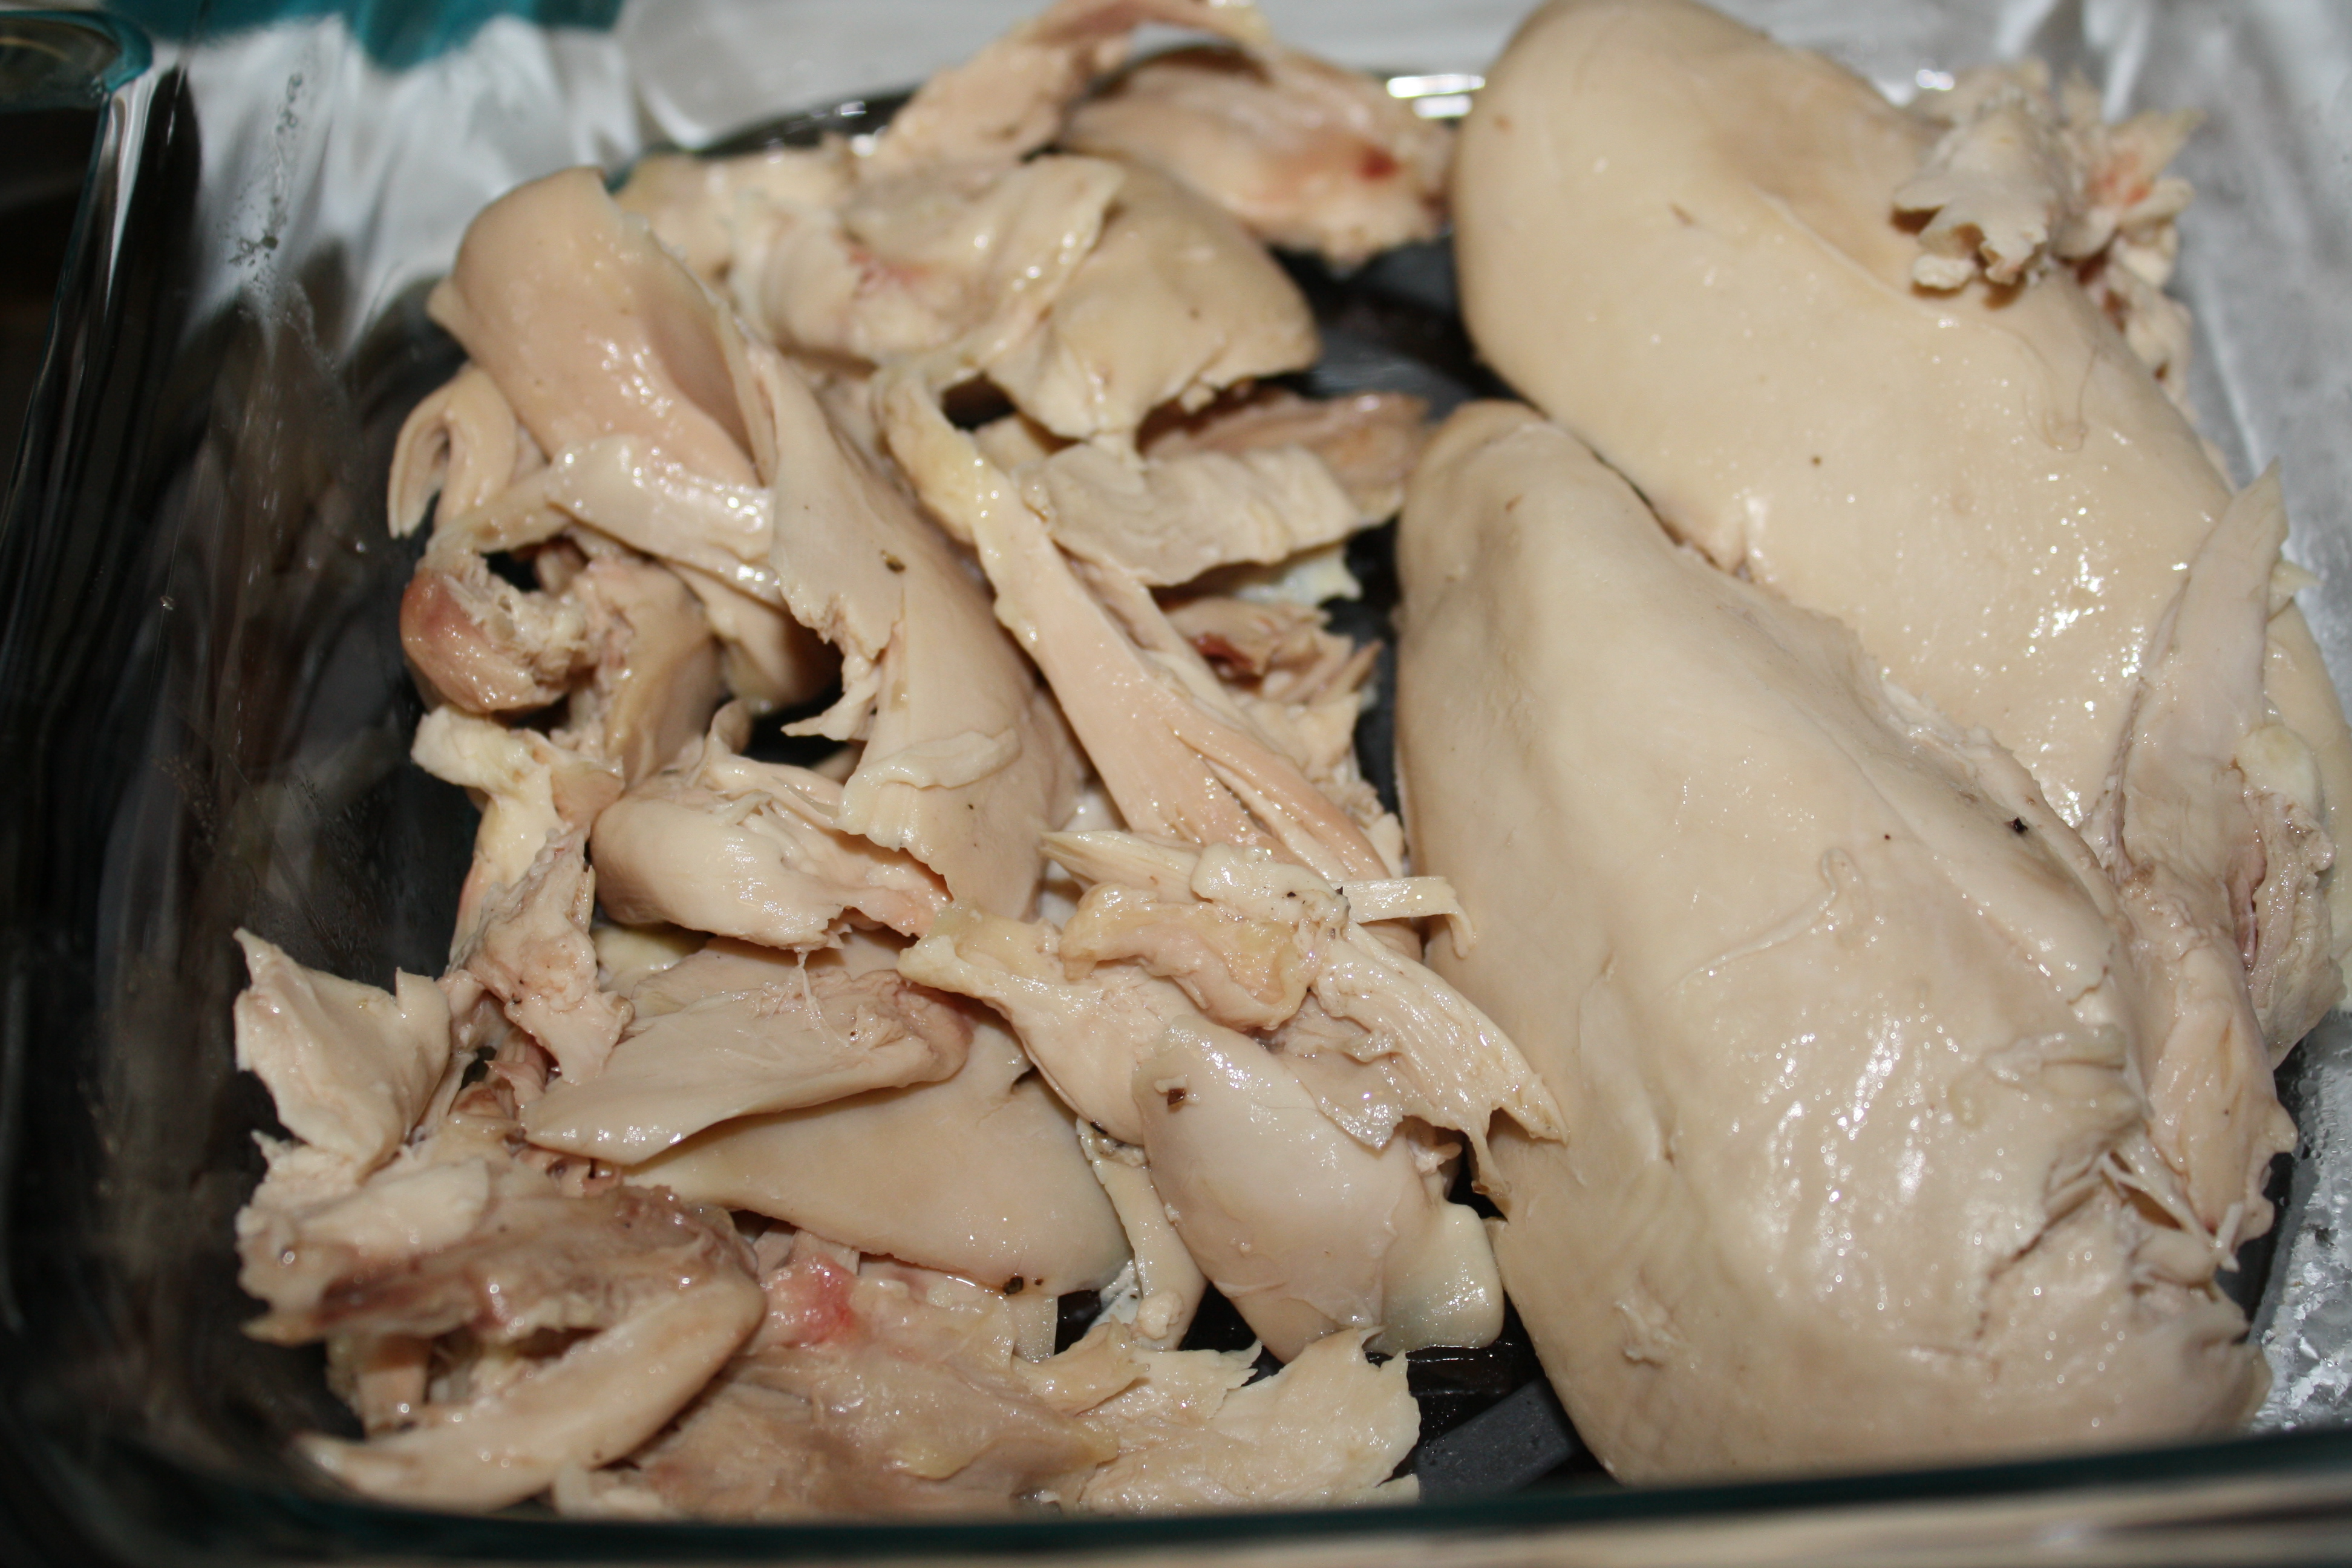
So here’s how I make my weekly bone broth: After I cook my whole chicken, I put the bones back in my crockpot, along with 8 cups of filtered water. I roughly chop any mix of the following to add to the pot: onion, celery, beet greens, carrots, garlic, leek or fresh herbs. You can also add a couple tablespoons of white wine or apple cider vinegar, as the acid in those liquids helps get more minerals from the bones.

Bones + Veggies in Crockpot

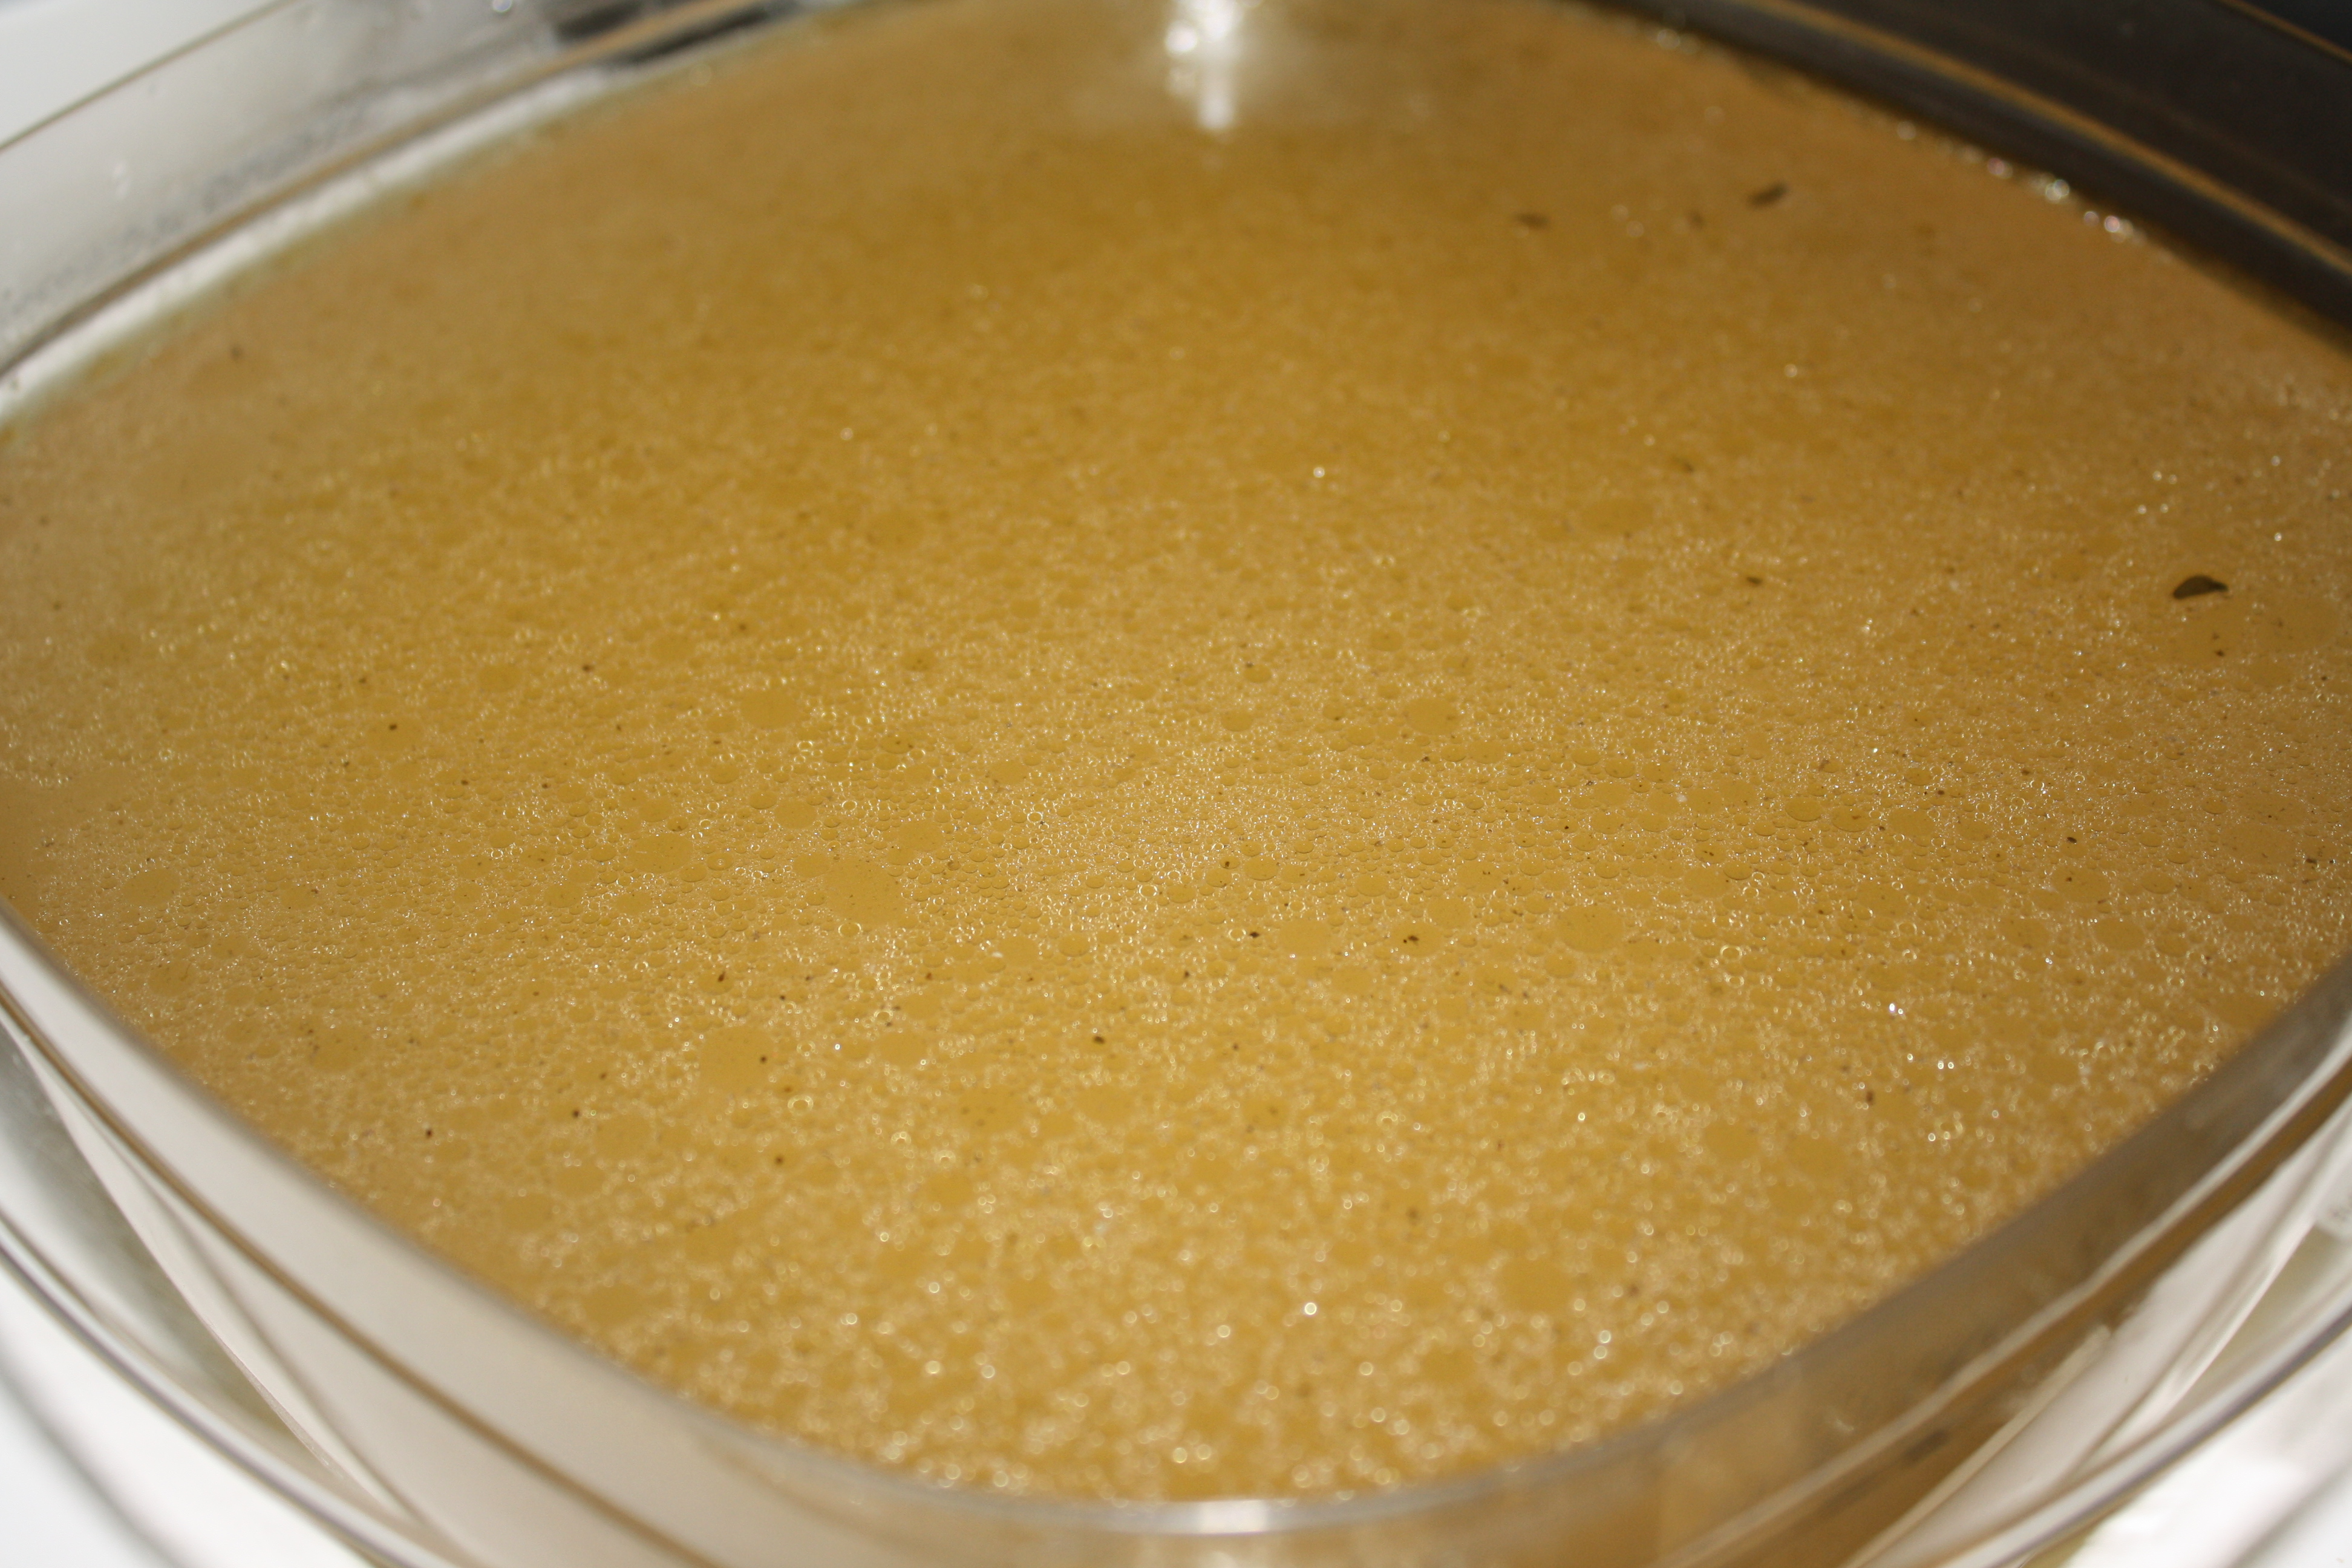
Simmer on low for around 4 hours.

Broth after 4 hours of simmering in crockpot

Then strain and transfer to a BPA-free container.  Use within a couple of days from the fridge, or store in the freezer.

Broth

You can use it in any recipe that calls for chicken broth, as a soup or gravy base, to replace water when making rice delicious or drink by itself. And of course, you can do the same with beef bones or fish bones for different broth flavors.  Considering how expensive a container of broth costs, this is a great deal – plus, no chemical preservatives or flavor additives!

A special tip for dog owner’s: I sometimes add a little broth to my puppy’s food to help her joints and she loves it! But, be sure not to use any onion in that batch as it is toxic to dogs).

Sources: Wikipedia searches of collagen & glucosamine and, of course, Deep Nutrition.

A Whole Chicken for Your Nest Egg (Part 1)

Whole Cooked Chicken

Looking for a way to save a little money each week?  Did you know that you can buy a whole chicken at the grocery store for almost half the price per pound that you can buy boneless, skinless chicken breasts?  Since we eat chicken more than any other meat in our home, this is a great deal for our budget.  Plus, you can get WAY more nutrients & meals out of a whole chicken with the skin and bones still attached.  More for less?  I don’t see a downside here…

As I’ve mentioned before, slow-cooking meat on the bone is a tradition for a reason. You need only taste some delicious BBQ ribs that have been on the smoker for 10+ hours or the juicy Thanksgiving turkey that Grandma has been basting all day.  So, why is it that meat tastes better when cooked this way?  Nutrients take time and moisture to be released.  When you overcook meat, it becomes tough because the fat, protein and sugar within the meat get fused during the heating process and destroy the nutrients, causing reactions between them that form carcinogens. You can avoid this by making sure your meat stays moisturized during cooking (basting, slow cooking, stews, pressure cooking).  The water molecules tenderize the tough proteins and keep them from fusing together. They also work at the connective tissue in the cartilage, skin, bone and ligaments to release molecules that help our joints and minerals like calcium, potassium, iron, etc.  The great taste comes from the itty bitty peptides that are formed as water molecules chop the proteins small enough to fit our taste buds.  Need one more reason to keep the skin on? The fat sits right underneath the skin in birds – fat gives us energy, helps our cells rebuild and allows us to absorb fat-soluble vitamins like A, D, E and K. This natural, healthy fat is different than sugar in that it doesn’t cause an insulin release (hello weight gain). However, it’s important that you buy organic meat; because pesticides on the plants animals eat accumulate in their fat, you need to buy organic to avoid these chemicals (and much more).

Each week, I buy a whole, organic chicken (remove and save giblets).  I usually season with salt and pepper and some fresh herbs, but you can find recipes online for adding other ingredients for different flavors.

Seasoned raw chicken in crockpot

I put it in my crockpot on low for around 4 hours (it depends on your crockpot temp so basically until meat thermometer reaches 165 degrees).  After letting it cool a bit, I take the meat off the bones. You can find YouTube videos showing you how if you’ve never done it before – I promise it’s easy and not as gross as it seems. And just look at how much meat I have for the week:

Cooked Chicken

Now, I always have this ready to go for quick meals – add some fresh veggies, put it in a salad or add to a soup. The actual hands-on time is only 5 minutes to start and then 10 to take the meat off the bones. I save the bones and put them right back in the crockpot.  In part two, I’ll explain how the bones give us even more nutrients and help create a staple of culinary technique.

Note: If you typically don’t like dark meat (like my hubby), try using those pieces in soups or other dishes, instead of by themselves.  I’ll admit I always hated dark meat until I started using organic meat – it doesn’t seem to have the same type of fatty texture that’s always disgusted me in the past.  Try it and see what you think!

Source: I simplified the scientific process of hydrolytic cleavage, or hydrolysis.  You can learn more about it online or from Deep Nutrition.

Parmesan Pesto Chicken with Herb-Stuffed Brussel Sprouts

Pesto Chicken and Brussel Sprouts

Trying to recover from all the cookies and carbs you devoured over the holidays but still craving the rich flavors?  Here’s a new recipe I created for you to try this weekend that is loaded with tastiness and nutrients.  Seriously, I could not stop saying “mmm!” the entire time I was eating this (and then again when I ate the leftovers), just ask my husband.  Hope you enjoy as much as I did!

Pesto Chicken Thighs

One of the “Four Pillars of Authentic Cuisine” I discussed in yesterday’s post was cooking meat on the bone.  Here’s a great way to put this pillar on your menu.  You’ll need:

  • 10 organic, pasture raised chicken thighs (bone-in with skin)
  • 1/2 cup of pesto (see recipe below)
  • 3 tablespoons freshly grated organic Parmesan cheese
  • juice from 1-2 organic lemon(s)
  • extra-virgin olive oil
  • salt and pepper (around 1 tablespoon of each)

To make a batch of pesto, combine 2 cups fresh, washed basil leaves with two cloves of garlic, 1/4 cup of pine nuts or raw almonds, 1/3 cup extra-virgin olive oil and salt and pepper in a food processor and chop until a smooth paste.  Then put in an airtight container and store in the freezer.  I store it in small 1/2 cup containers and just take it out to thaw whenever I need it for a recipe.

For the chicken, first rinse the chicken thighs and put them skin up into a 9×13 glass baking dish (line with foil or spread a thin layer of coconut oil on the bottom for easy clean up).  Next, massage the chicken to separate the skin from the meat and create a little pouch for your pesto mix. Stir the Parmesan cheese into your pesto and then distribute among the chicken thighs, stuffing the mixture into the pouches.  Then, sprinkle your lemon juice over the chicken thighs, along with the olive oil and salt and pepper. Rub all that goodness into the skin a little.  Put into a 375 degree oven for 35-40 minutes, or until browned on the top.  I usually check a little on the early side (because overcooked chicken not only tastes dry but also loses its nutrients) and use a meat thermometer to determine if it’s ready – chicken is perfectly and fully cooked at 165 degrees.

Stuffed Brussel Sprouts

While the chicken is baking, you can make the brussel sprouts side dish.  Here’s what you’ll need:

  • 8ish organic brussel sprouts (mine were small to medium sized and made plenty for two people)
  • 3 tablespoons organic greek yogurt
  • 1-2 tablespoon raspberry-chipotle sauce (optional, but I love the stuff)
  • 3 tablespoons freshly grated Parmesan cheese
  • 1 clove garlic, peeled
  • 1 teaspoon chopped basil
  • 1 teaspoon chopped thyme
  • 1 teaspoon chopped oregano
  • 1 teaspoon each of salt and pepper
  • 1/4 cup bread crumbs (I put my sprouted bread in a food processor for the fresh, cheap kind)

First, boil 4 cups of water and put your washed brussel sprouts in the pot for 1-2 minutes to blanch them.  Basically, when they turn bright green, take them out and put them in a colander to drain them and let cool.  Blanching them makes them easy to cut and core. Once cool, chop the ends off and cut in half. Next, take a paring knife and cut the stem part just enough to where you can pull out the inner part of the sprout, just leaving an outer shell for stuffing. (There’s lots of videos online showing how to do this if you need a better visual.)  After separating the inner sprouts from outer leaves, put the inner parts in a food processor with the garlic and chop until fine.  Then, saute your inner sprouts and garlic in some olive oil until tender.  Once cooked, mix in a bowl with the rest of the ingredients and stir to mix everything together. Lastly, fill the sprout shells with the mixture, overfilling each a little bit and arrange on a baking sheet lined with foil.  Put in the oven with your chicken (375 degrees) for 10-15 minutes, until the tops and outer shells are browned.

Happy Cooking!

– Christine