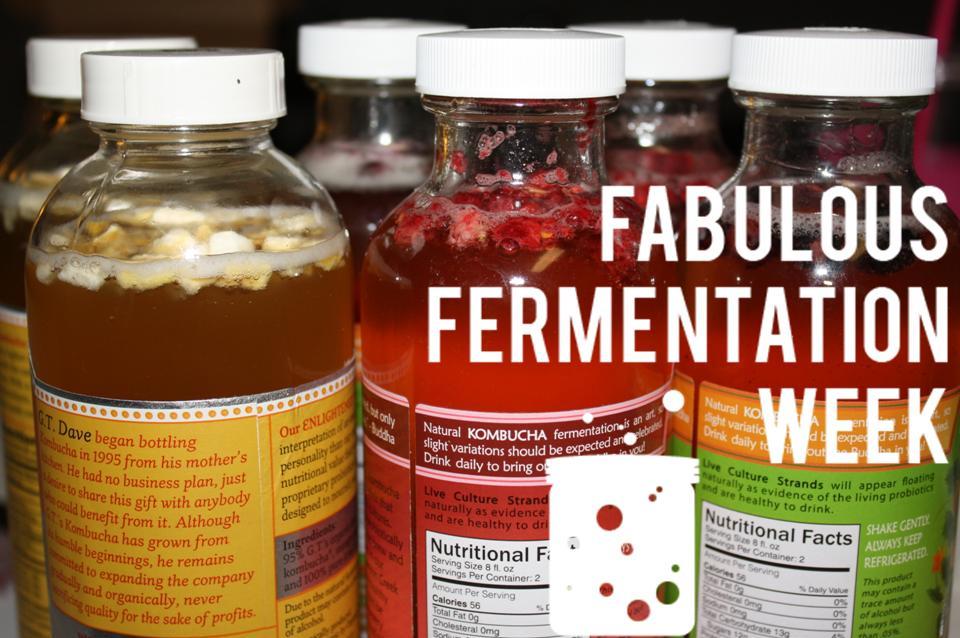
In the healthy food blogosphere, this week is known as “Fabulous Fermentation Week” and I thought this would be the perfect time to share my recent experimentation with fermentation and all benefits it has to offer! When you think of fermented foods, mostly likely only pickles and sauerkraut come to mind, but actually many of our favorite foods & drinks were created through fermentation – wine, beer, coffee, yogurt, cheese and chocolate. It’s a process discovered thousands of years ago, probably by chance, as a preservation method that happened to add nutrients in the process; it has provided profound health benefits to humans for generations. Defined by Webster’s Dictionary, fermentation is “an enzymatically controlled transformation of an organic compound.” Dr. Cate describes it best in Deep Nutrition – “With an arsenal of enzymes, microbes can break down toxins that might otherwise sicken or kill us outright, turn simple sugars into complex nutrients, make vitamins our diets might otherwise lack (such as K2 and B12), and wage chemical warfare on would-be pathogens.”
One main benefit to fermentation is that it produces live cultures with good bacteria – probiotics – that work with our immune system to fight the bad bacteria – pathogens – that attack our system and cause allergies, autoimmune diseases & inflammation. Many of us are consistently lacking enough probiotics in our system, and therefore have poor-functioning immune systems – story of my (former) life. By incorporating probiotics into your diet, you’ll quickly see great changes to your digestive system. Whenever I have an upset stomach, I go straight for pickles or kombucha (before you ask – no, they’re not pregnancy cravings) to feel better fast. Probiotics are also really essential when you are taking antibiotics. Antibiotics kill bacteria with no discretion – the good and the bad. Without replenishing the good kind, you are compromising your immune system even more, opening yourself up to more infection (and yet I’ve never had a doctor tell me that).
While you can certainly take pricey probiotic supplements to boost your system, you could also start eating fermented foods like (raw, unpasteurized) yogurt, real (no preservatives) pickles, kimchi and sauerkraut OR by drinking delicious kombucha. For those of you who have never heard of it – kombucha is a probiotic-rich, fruity, naturally carbonated beverage that you can find in lots of different flavors at your local grocery or health foods store. It’s a great substitution for those of you who are addicted to soda, and you can even use it as a cocktail mixer – I tried some gin in a ginger-blueberry kombucha last week and it was pretty awesome. What you might discover is that it’s also pretty expensive – around $3-4 per bottle. I had always heard that it was easy and cheap to make it at home, so I decided to try it. And wow, definitely lived up to that promise. The hands on time for this was maybe only 20 minutes spread out over 2 weeks. Some of the fermentation processes are a little gross, but nothing that you can’t handle!
I started with an organic home-brew starter kit from Kombucha Brooklyn. However, all you really need to get started is a 1 Gallon glass jar, which you could find at a local beer home-brew store, a piece of cotton & rubber band, and then some organic unflavored tea and cane sugar. What makes the magic happen is something called a SCOBY – symbiotic colony of bacteria and yeast – which is basically a strange, disc looking thing you put in your jar of sweet tea and let ferment. You can get a SCOBY online, in the starter kit, or, if you live in Austin, I can give you one from one of my batches! Once you start with one, each batch will produce another so that you can continue brewing and never buy again.

Kombucha Starter Set – dried fruit for flavoring bottles, sugar, SCOBY and tea

Boil water then steep tea for 20 minutes

Add 1 cup sugar and stir to dissolve

Add 8 cups cold filtered water

Kombucha fermenting and growing another SCOBY

Day 14 – Clearly see 2 SCOBYs

Take out the two SCOBYs

Add 1.5 cups kombucha liquid

Use funnel to fill 6 16oz bottles

Add dried fruit to the bottles for flavor
First, you boil 4 cups of filtered water. Take off the heat and add 6 organic, unflavored black or white tea bags. Let steep for around 20 minutes, then add 1 cup of organic cane sugar and stir. Once dissolved, add 8 cups of cold, filtered water and pour into your one gallon jar. After that, you simply add the SCOBY with 1.5 cups of kombucha liquid from your last batch (or that the SCOBY comes in). Cover with the cloth and rubber band and then put into a warm, dark place where it can breathe – as long as you don’t keep your house super cold, it’s fine anywhere but your pantry or by a window. Let sit for around 2 weeks and watch a new SCOBY grow as your kombucha ferments. After that amount of time, taste your kombucha to see if you like it… taste will tell you when it’s done (I like mine sweet, rather than sour). When done, simply take out the SCOBYs and set them aside with 1.5 cups of the liquid. Pour the tea into bottles – I used 6 old 16oz bottles I had saved. If you want to add a flavor, you must do it after fermentation, during the bottling process. I used dried mango, raspberries and ginger & blueberries for 3 different kinds. Once in your bottles, put the lids on tight and let sit out of the fridge for 3-5 days so that it will carbonate. After that, refrigerate and enjoy your refreshing & healthy beverages!
*If you’ve never tried Kombucha before, I recommend you go to the store now and buy some! Austin’s local Buddha’s Brew is the sweetest, so it’s a good starting point to get used to the flavor – the honeydew flavor is my absolute favorite.
What’s your favorite fermented food or drink? Have you ever tried kombucha?
For more fermented food recipes, you can find the participants in Fabulous Fermentation Week at My New Roots.

 A few months ago, I received Thieves foaming hand soap complimentary in my essential oils order. I used it and absolutely loved it. But, I went to re-order and was astounded to find they cost $17 retail each. Ridiculous!
 Lemon essential oil is highly concentrated – cold-pressed from the rind, it takes 75 lemons to make one 15ml bottle. If you have heard about the benefits of drinking lemon water each morning, lemon oil is an easier alternative to stocking up on lemons each week, and the lack of citric acid can be easier on your stomach and teeth. Just a drop of lemon essential oil in a glass of water can have a lot of benefits first thing in the morning: